Step 2: Add Business
Follow these instructions to configure your business profile and branches in the ERP system.
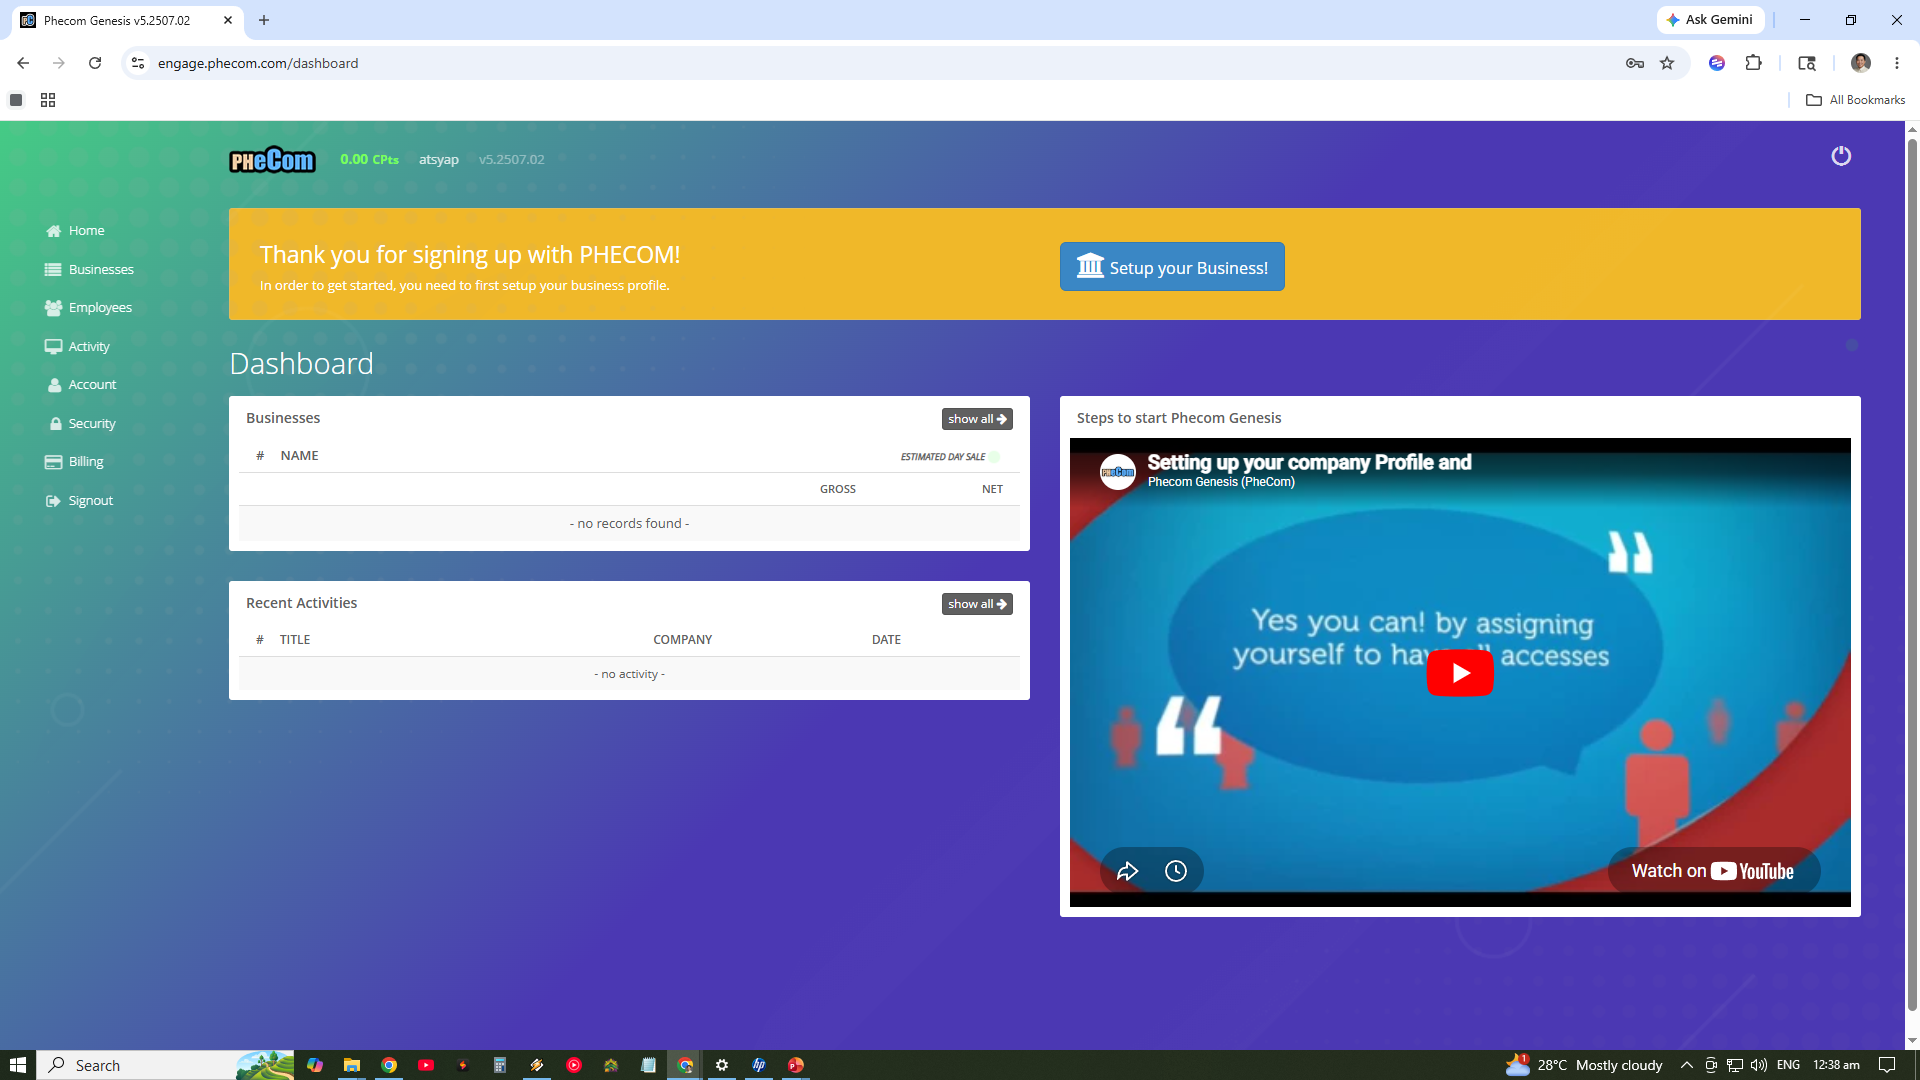
After successfully logging in, locate the "Setup Business" button on your main dashboard. This is the first step to registering your organization.
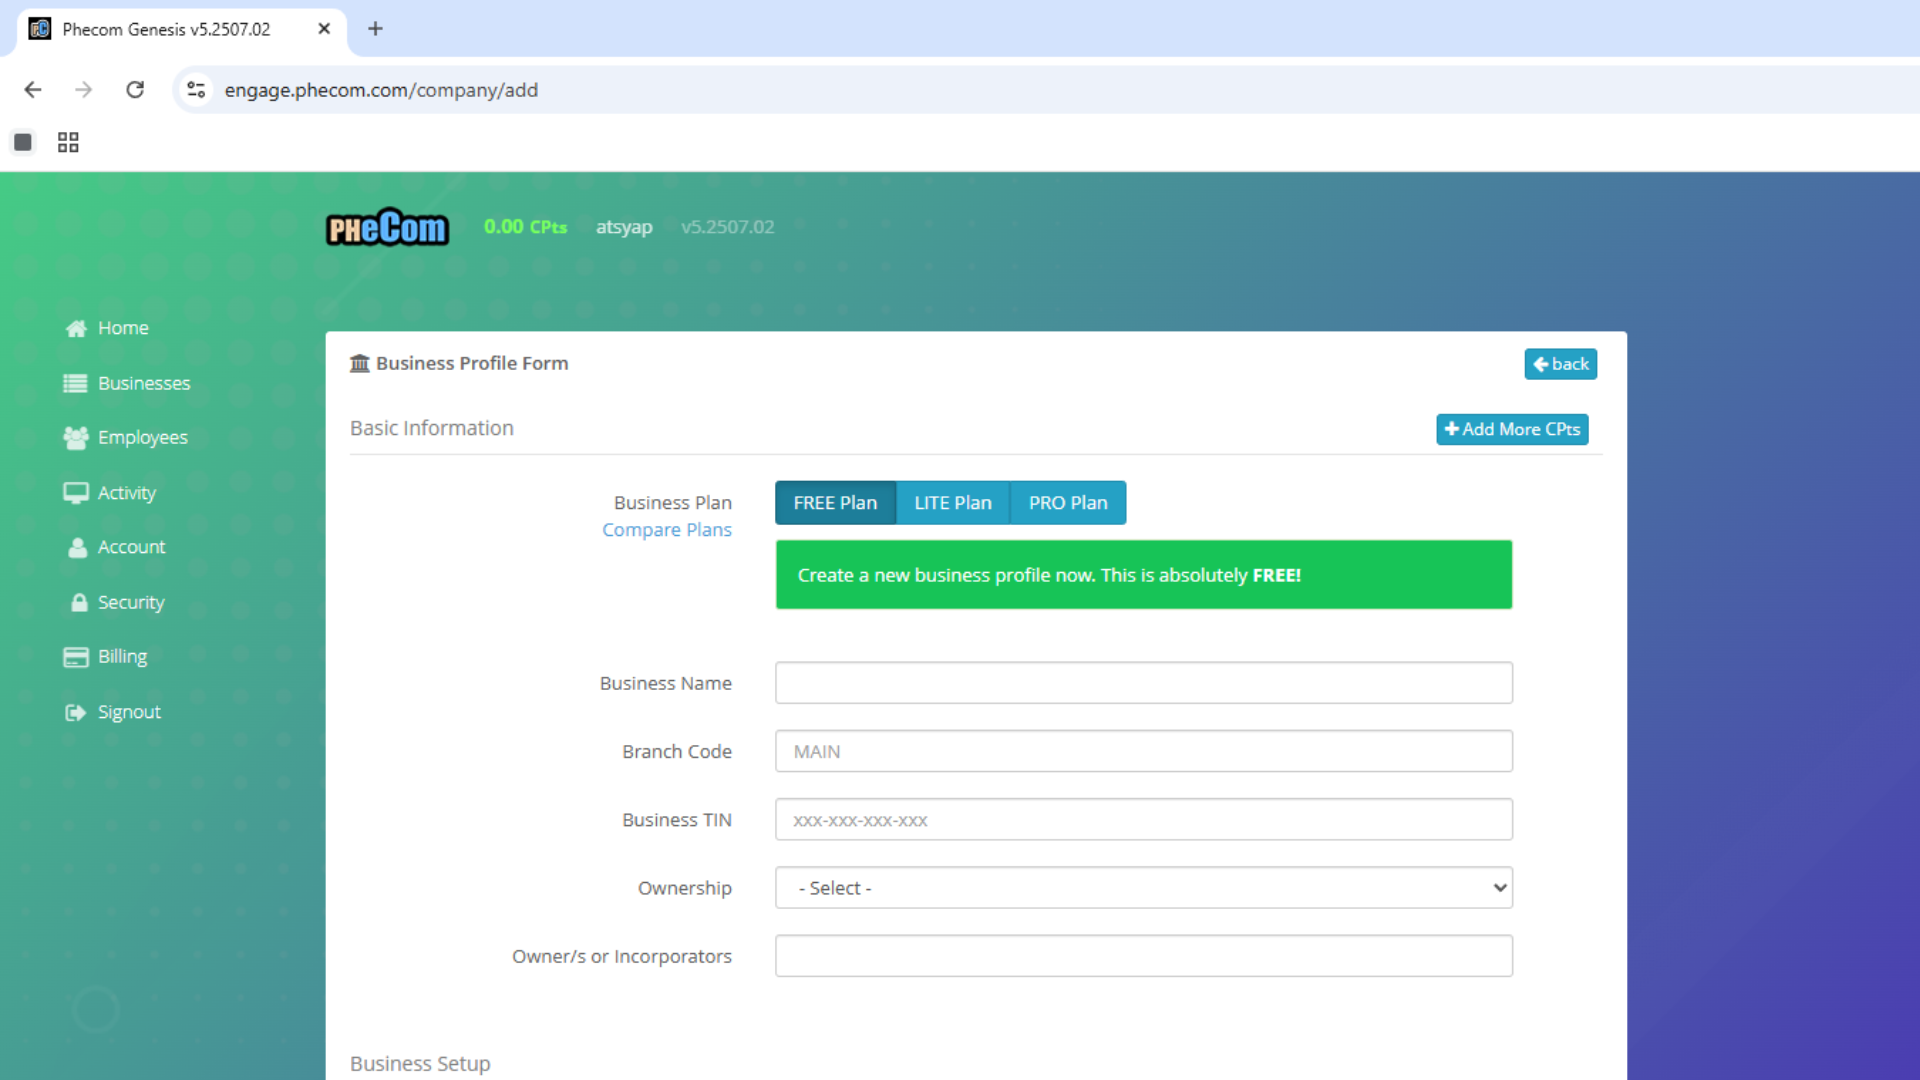
Enter your business details carefully. This includes the legal name, tax identification number, contact details, and physical address. Ensuring this information is accurate is crucial for your invoices and financial reports. You can also upload your company logo here to maintain brand consistency across the system.
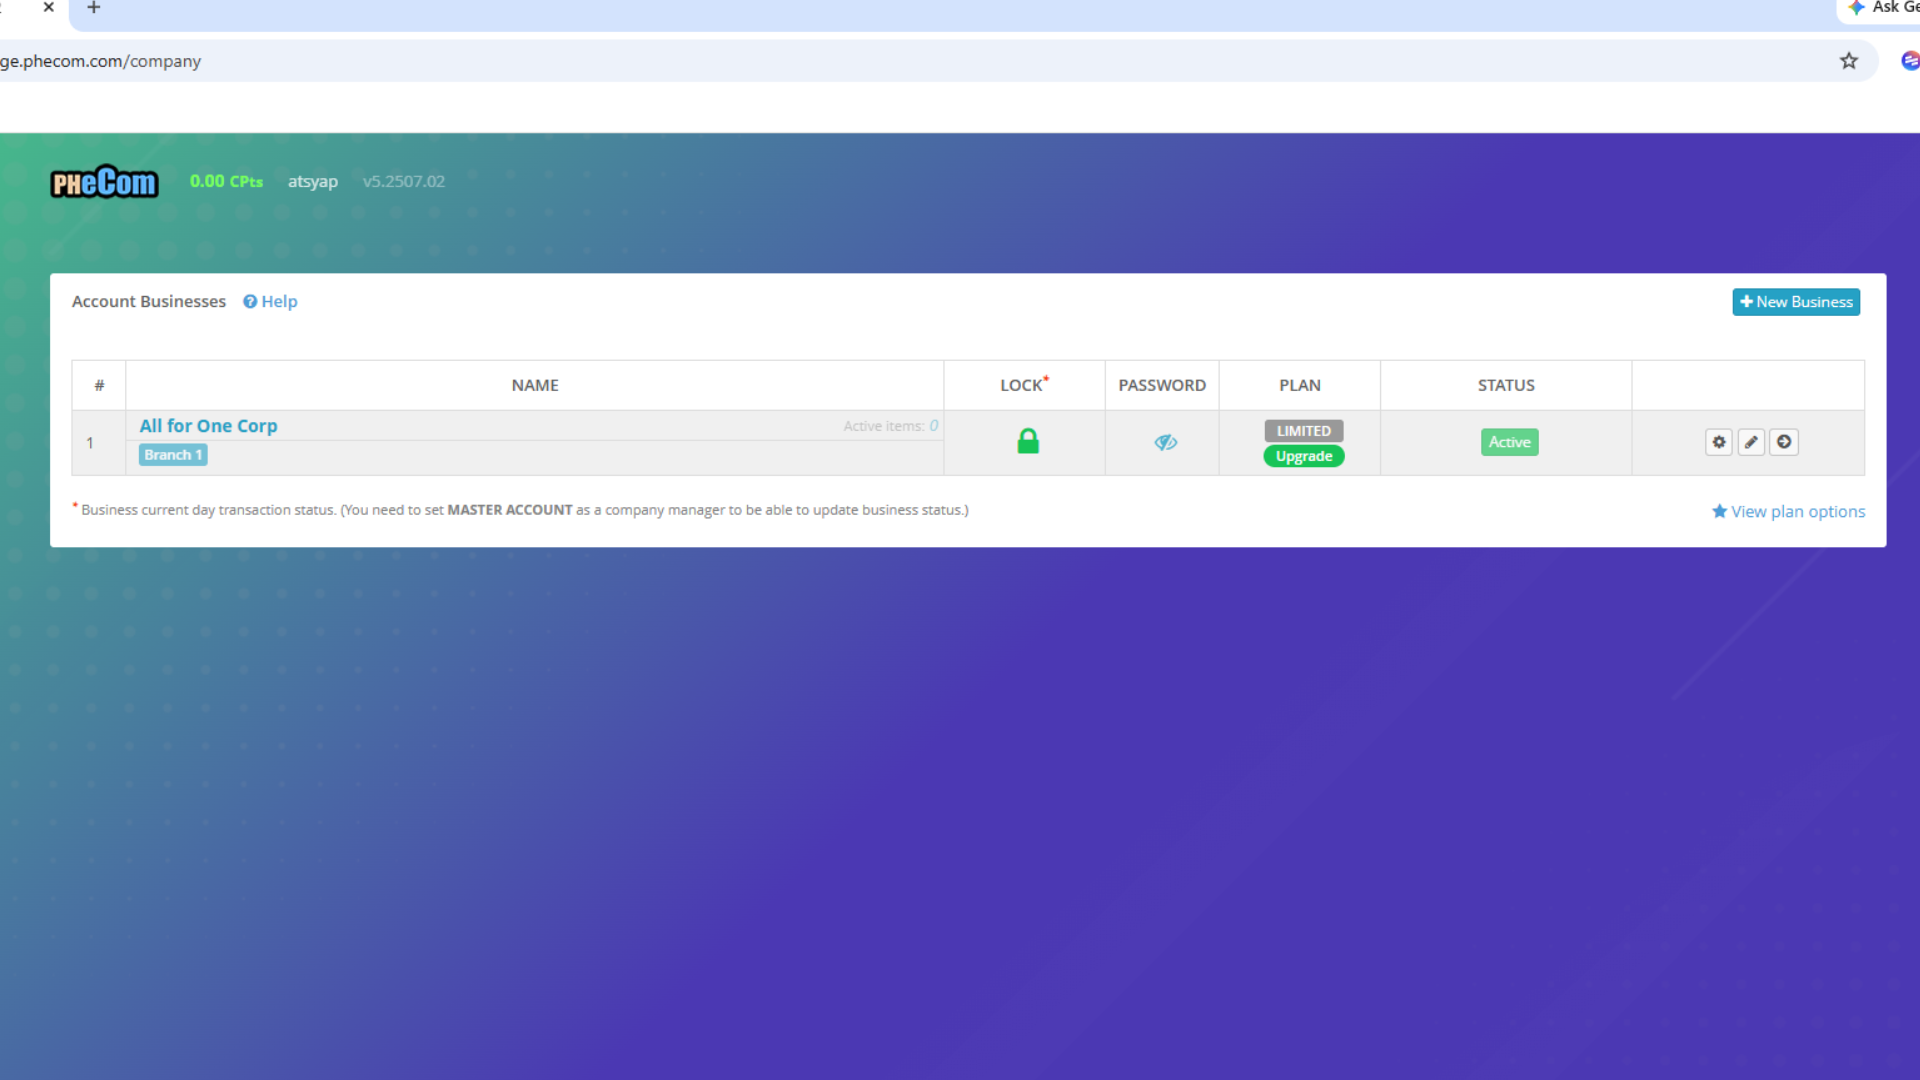
Once your business profile is saved, you can add specific branches. This allows you to manage multiple locations under one corporate umbrella. You can manage users, edit company details, and enter specific core modules directly from the branch management card.